How to use the File Manager
Please Note: The File Manager is sometimes called the Image Manager. It is the term used for the window that opens up when you select the Upload button to add content (i.e. images or documents) into your website. The following example will use the File Manager and the image editing function.
Uploading images
Important Note: You may access the File Manager through Insert Image button in the Text Editing window of the component or through Uploading Files.
-
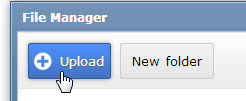
To upload an image using the File Manager, click the Upload button.
The Open files window displays.
.jpg)
-
Navigate to the folder that contains your image(s), and select it by clicking once on it.
Click on the image to select it.
IMPORTANT NOTE: To select two images or more, press CTRL + CLICK (hold the CTRL key on the keyboard down and click one mouse click for each successive image you would like to upload).
-
Click the Open button.

The File Manager window displays and displays the progress of uploading the images. In the below example, the huge rubber duck image is loaded and the real duck image is waiting to be loaded.
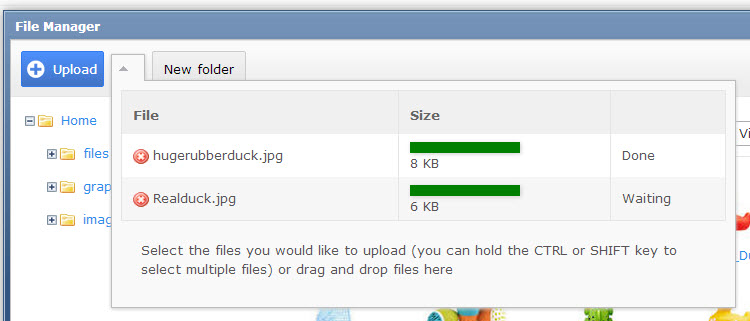
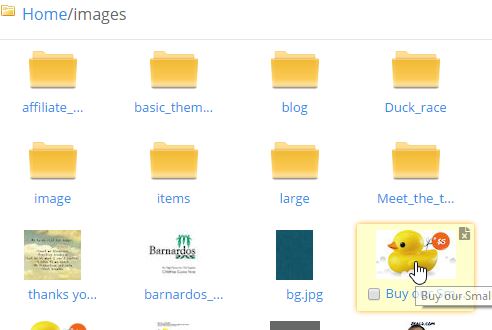
Once complete, the uploaded images appear in the File Manager window as thumbnail images.
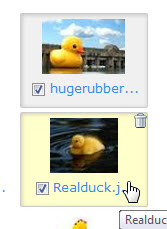
IMPORTANT NOTE: Please note that when an image is uploaded using the File Manager, it is copied and placed into the following Website Manager system folders: Originals, Items, Large, and Thumb folders. If the selected image has a name that already exists in your Originals, Items, Large and Thumb folders, the system will add a number to the end of the image name to ensure it will not overwrite or conflict with the pre-existing image name.
Downloading images
If you would like to re-use an existing image for another product, page, or post, you can access the file manager to download the image.
To access the file manager:
-
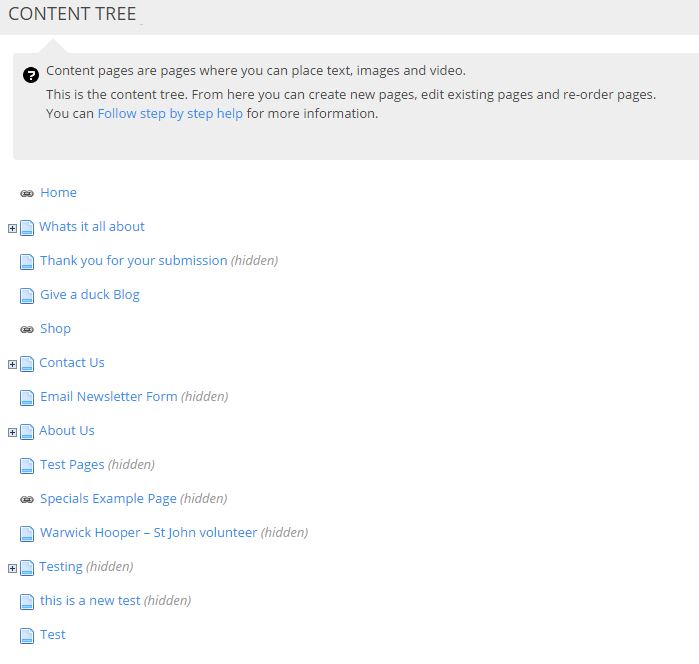
Go to the Content Tree.
-
Select the article or page that contains the image you want to re-use.

-
Click Edit Page.

-
Click Image
 .
.

-
Click on the image you want to re-use.
-
Click Download.

